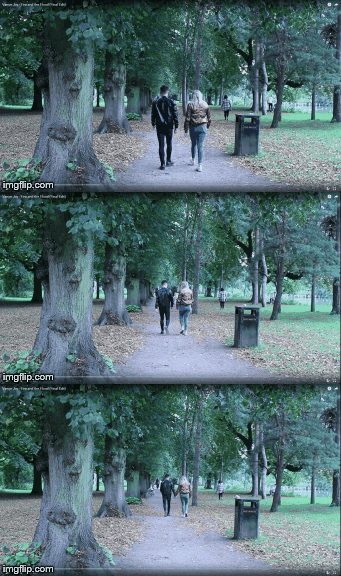
Our editing experience ran smoothly from the start as we knew what direction we wanted to go in. So we started editing the Highfields shots in our storyboard order, and slowed them down to fit in with the pace of the music. We used the razor tool to cut out sections that weren't needed and linked some of the shots together with transitions such as cross dissolves and fade, in order to make the video flow. However, when watching the first section of the video back, we found that the narrative was a bit slow and some of the shot were too long, so we added some jump cuts on beat to make the video more choppy and interesting. I especially like the scene where the actors are walking down a path framed with trees, and they move further up the path on each beat.
In our next editing session we started to add the garden scenes, pulling together the two locations in order to make the video flow seamlessly throughout. In order to do this, we used a fade to black transition to make it clear to the audience that this was another chapter in the actors relationship, which I think worked quite well with how we wanted the narrative to progress. One of my favourite editing techniques was changing the opacity of clips to create a layered effect. We simply when to the edit icon and slid the opacity to 50% to make two different shots appear over the top of each other. My personal favourite was the layering of the time lapse and the performance at the very end of the video, because I feel like it pulled together the narrative of relationships moving on, with the artists personal experiences. This makes it easier for the audience to related to the artist and create a connecting with their music.


No comments:
Post a Comment